Inviting Users to Your Course
Abstract
This article will detail the process for inviting users (students, TAs, or other instructors) to your course. The steps outlined in this guide can be followed by instructors or TAs. If you would like your students to remain anonymous in the exercise environment, we recommend using invitation codes to invite users. For more information on maintaining student privacy, please refer to the article titled Student Privacy Protection. Additionally, if you wish to edit or delete users in your course(s), please refer to our article titled Editing or Deleting Users in Your Course.
Navigating to the Course Users Page
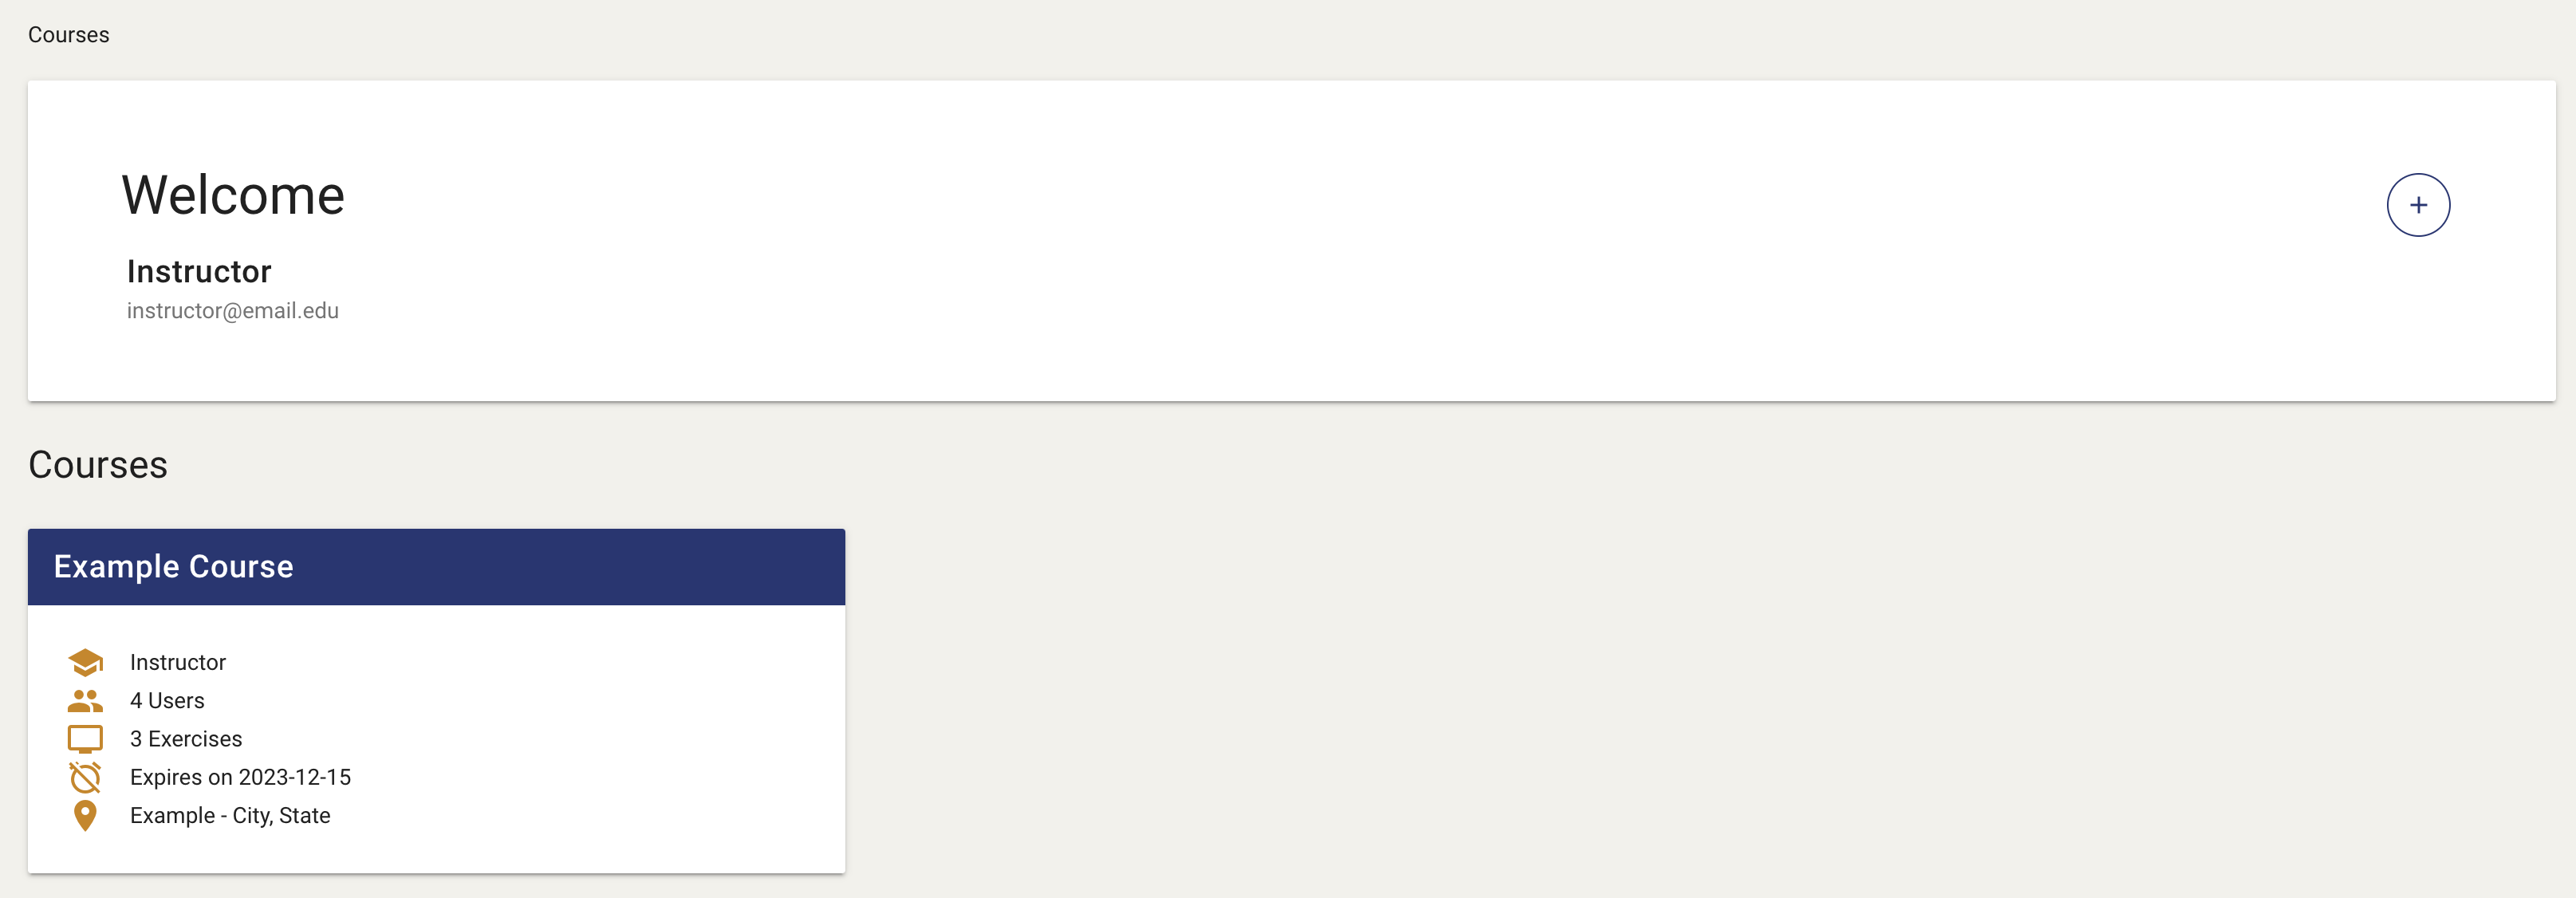
All user invitations will begin by navigating to the Users page in the Exercise Area. Please follow the steps below to do so:
-
Click on the course to which you would like to add users.
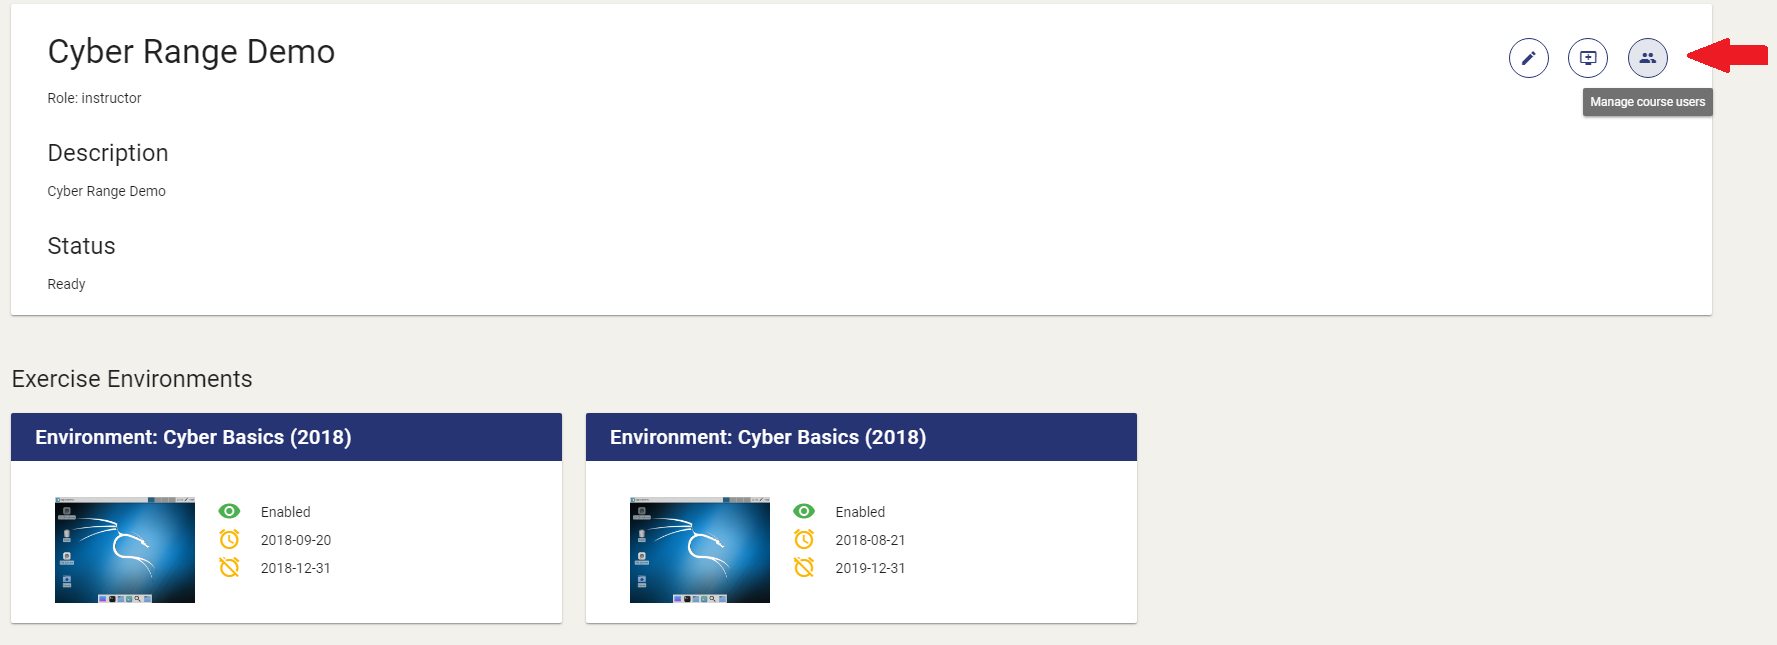
-
Click the Manage Course Users button located to the right of the course information.
From here, you have four different methods to invite users:
- Invitation codes
- Individual email invitations
- Bulk email invitations via CSV
- Google Classroom Import
Inviting Users with an Invitation Code
Invitation codes provide an easy method for inviting users, especially for larger classes and schools with strict email filtering. Once you have created an invitation code, you can share it with your class so they can sign up for your course. To assist your students, our guide for joining a course can be found on this page: For Students: How to Join A Course.
Generating an Invitation Code
Important
Invitation codes are valid for twenty-one (21) days. Please create a new invitation code if your invitation code expires.
-
Click the Invitation Code button located to the right of the Users list.
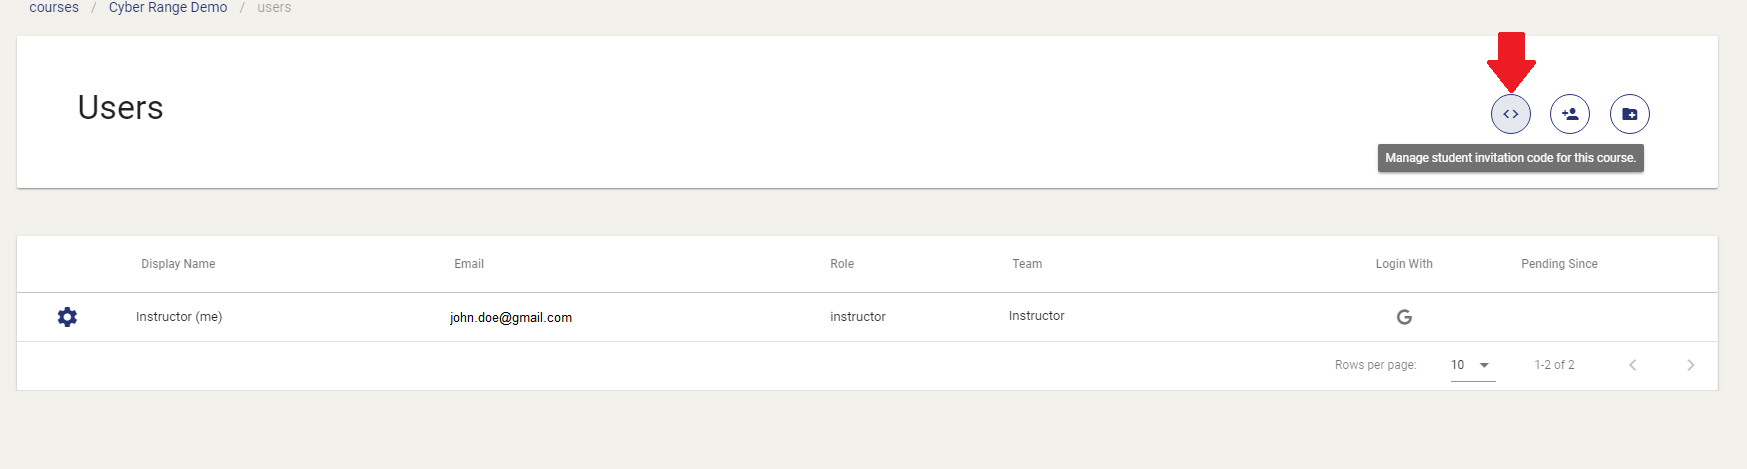
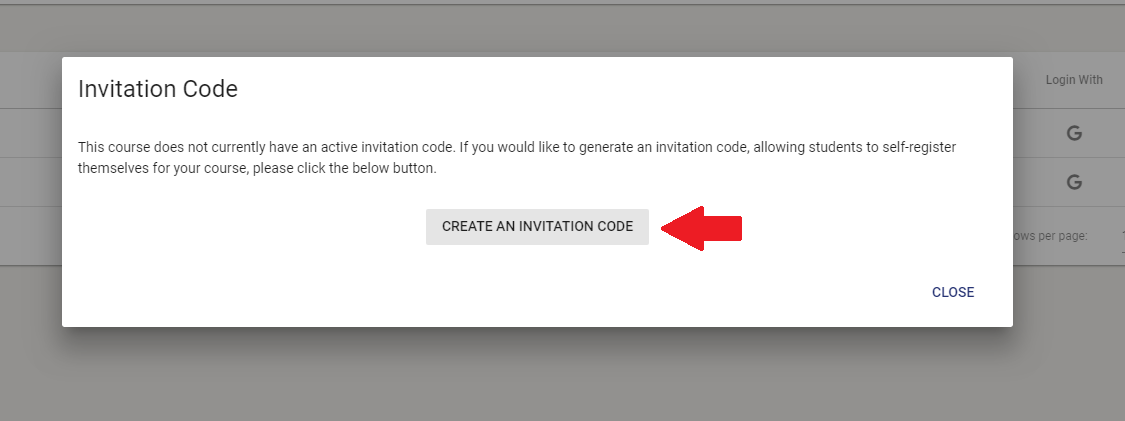
-
Click the Create Invitation Code button.
Inviting Users via Email Invitation
Warning
If your school blocks external emails to student accounts, this method will not work well for your class. Please visit the section above on Invitation codes for a better option.
Email invitations are a simple way to invite your users. Your users will need to click the link listed in their email invitation and choose an authentication provider to register for your course. For more details on joining a course, please checkout this article section titled Joining a Course via an Invitation Link
Individual Invitations
-
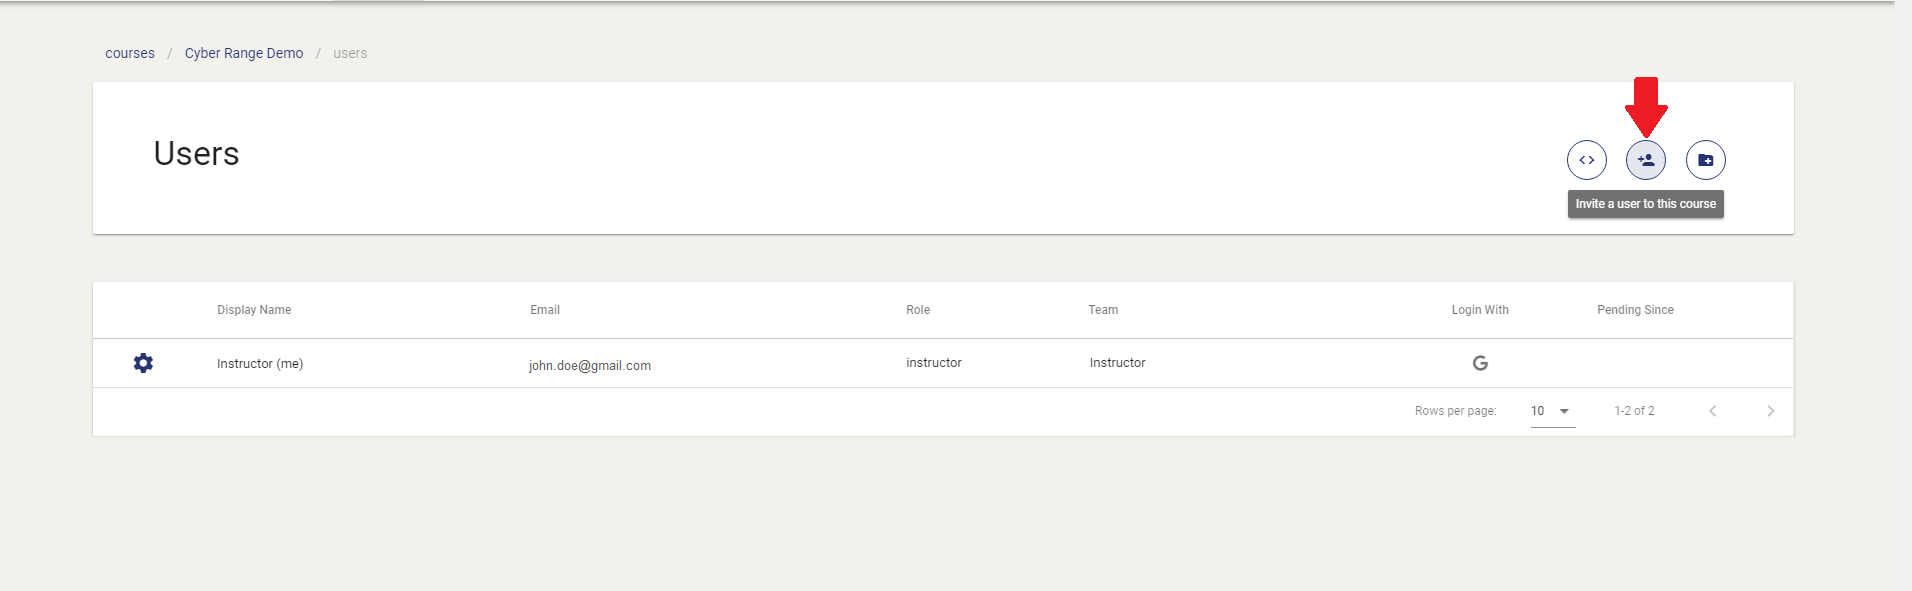
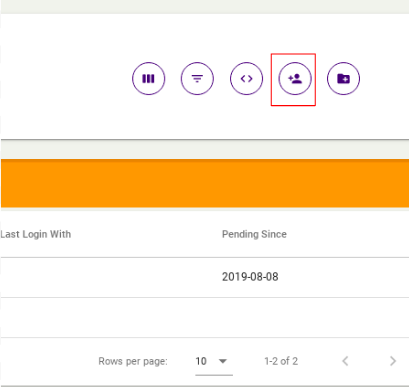
Click the Invite Users button located in the upper right corner.
-
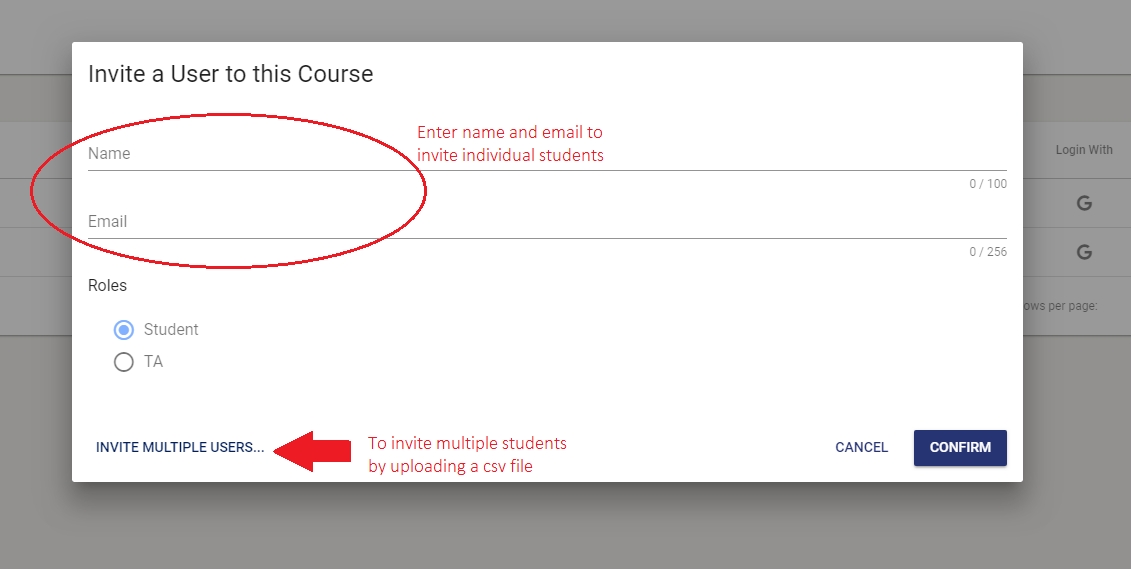
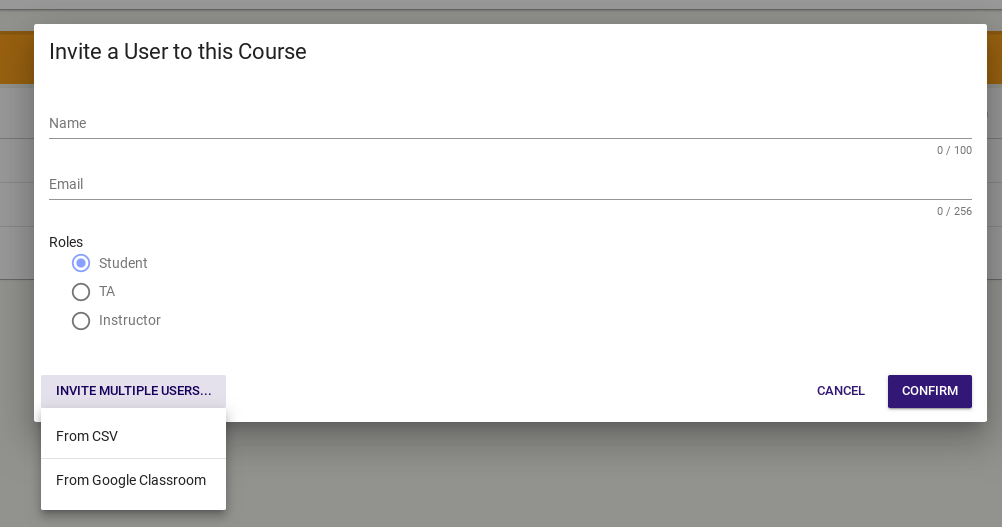
Enter the user's name and email, select their appropriate role, and click Confirm to send the invitation.
Bulk Invitations via CSV
Downloading CSV Template
-
Click on Invite Users button located in the upper right corner.
-
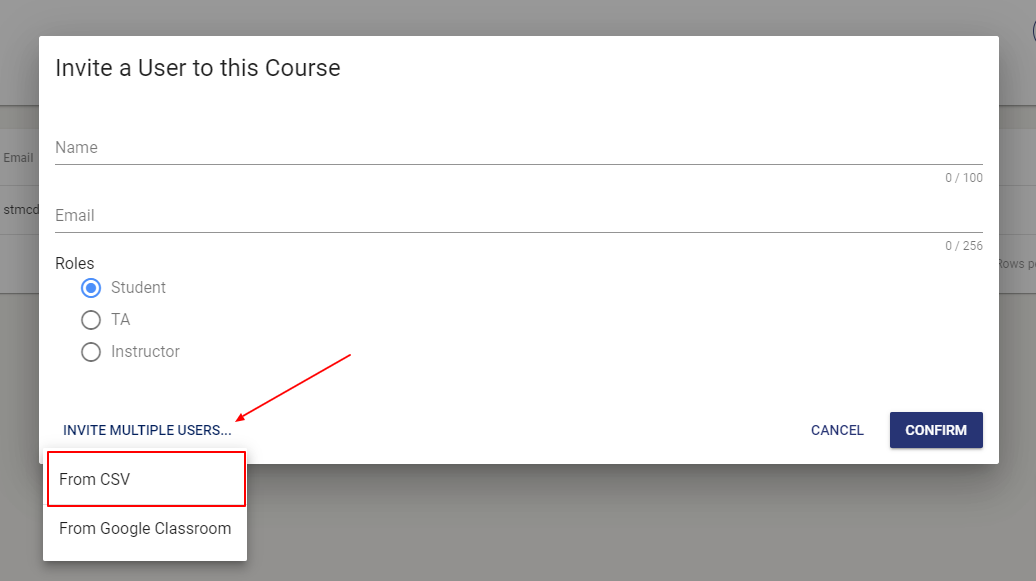
Scroll down to "Import Multiple Users" below the Invite A User form and select "Upload a CSV" from the options.
-
In the first step, a CSV template is provided. Download this provided template for reference while adding your students.

Adding Your Users to the CSV
-
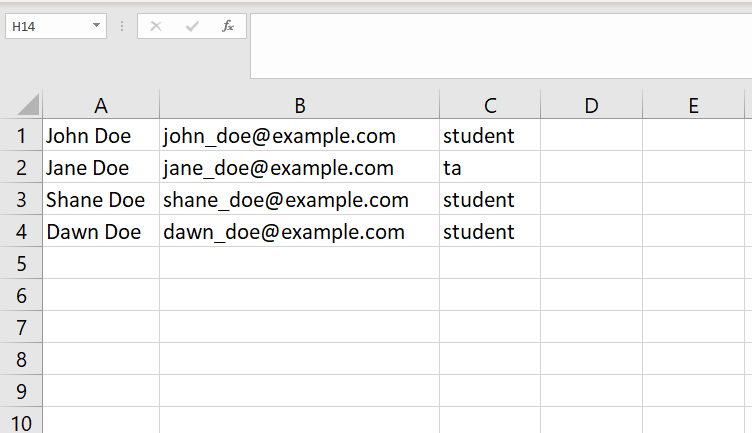
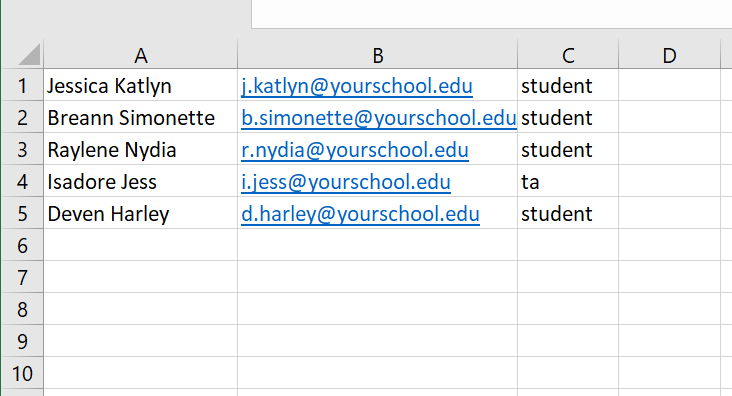
Open the template in a CSV editing software such as Microsoft Excel. You should find sample data populated in the template.
-
Replace the sample data with your own users' data. The first column is used to provide names for your users, the second column is used to provide email addresses, and the third column is used to provide the user's role.
Importing Users From CSV
-
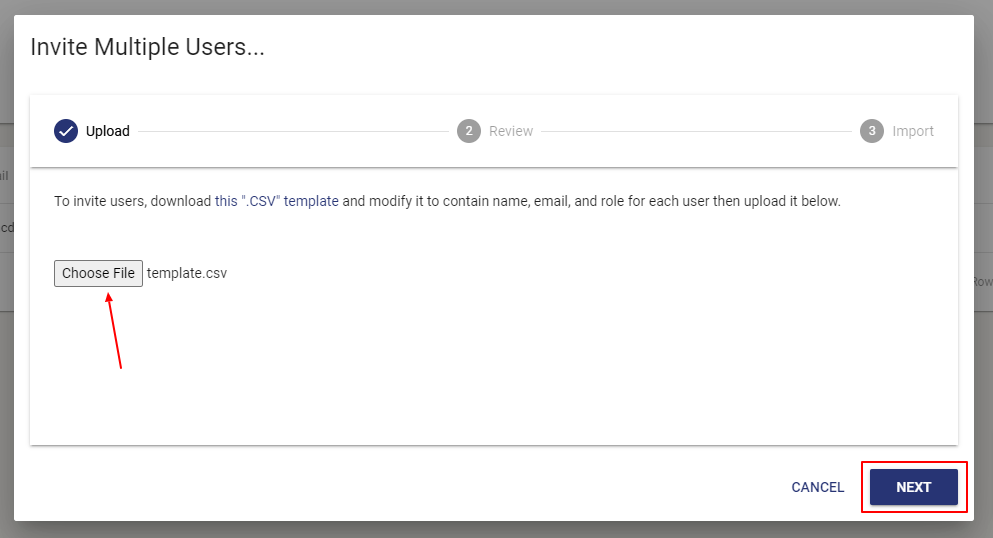
Save your updated CSV and upload it in the Import Users - CSV dialog. Click Next to proceed to the next step.
-
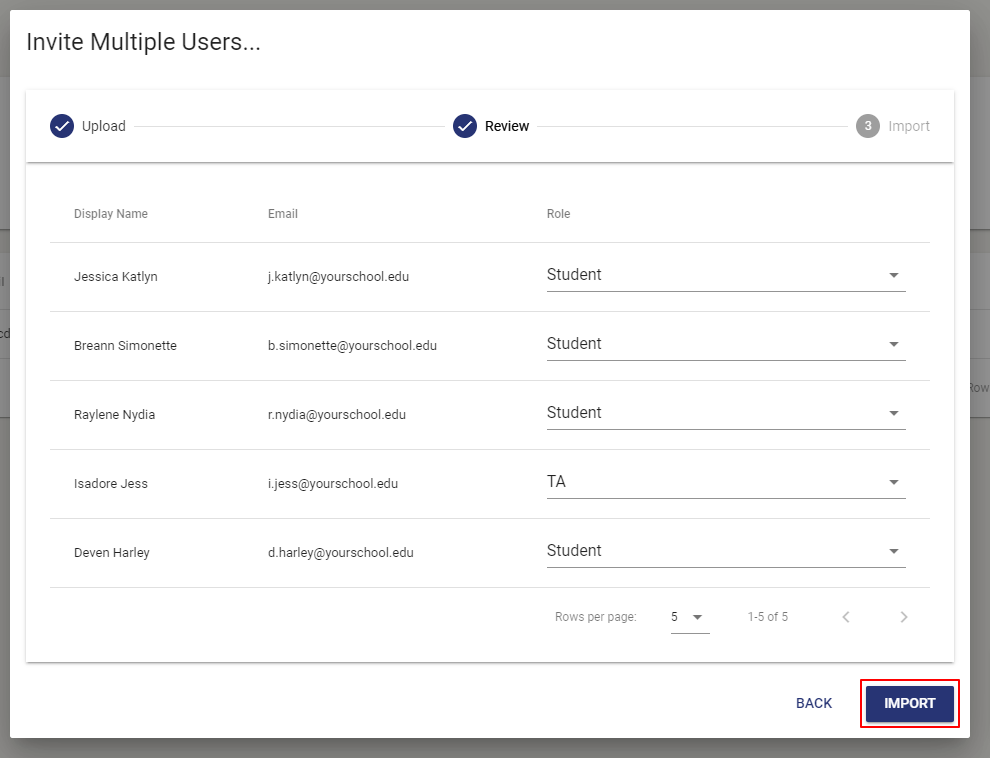
In step two you will have the opportunity to validate the data from your CSV file. You can use the dropdowns in the Role column to adjust user roles as needed. If you find any errors in the Name or Email of a user, you can use the Back button to return to step 1. When you have confirmed all users are correct, you can click Import in the bottom right corner of the dialog.
-
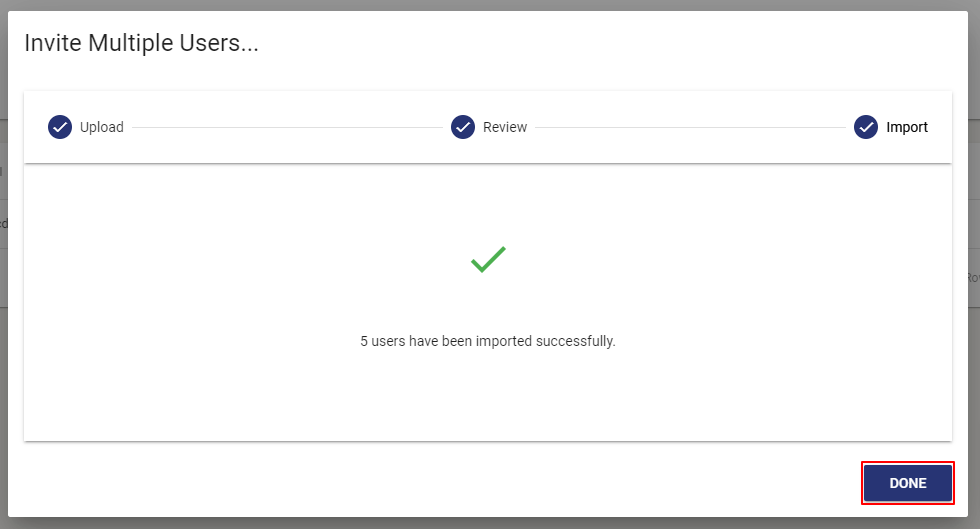
If everything worked as expected, a confirmation screen describing how many users were successfully invited to your course will appear.
Bulk Invitations via Google Classroom
-
Click the Invite Users button in the top right hand corner.
-
Scroll down to "Import Multiple Users" below the Invite a User Form and select "Google Classroom" from the options.
-
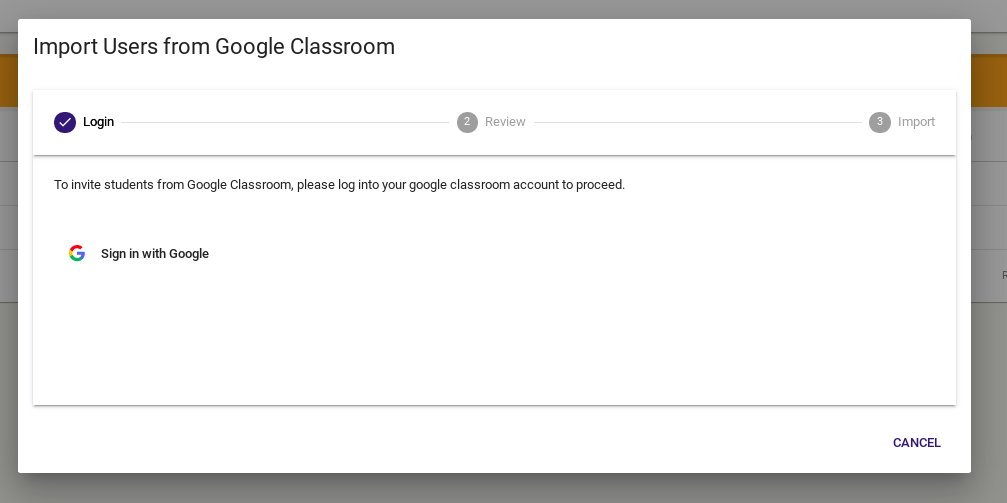
You will then need to log into your Google account by clicking on "Sign in with Google". Please keep in mind that the Google account you choose to login with must be associated with a Google Classroom account that contains the students in your school or organization. If an account that is not associated with Google Classroom is used, you will not be able to import or view any students.
-
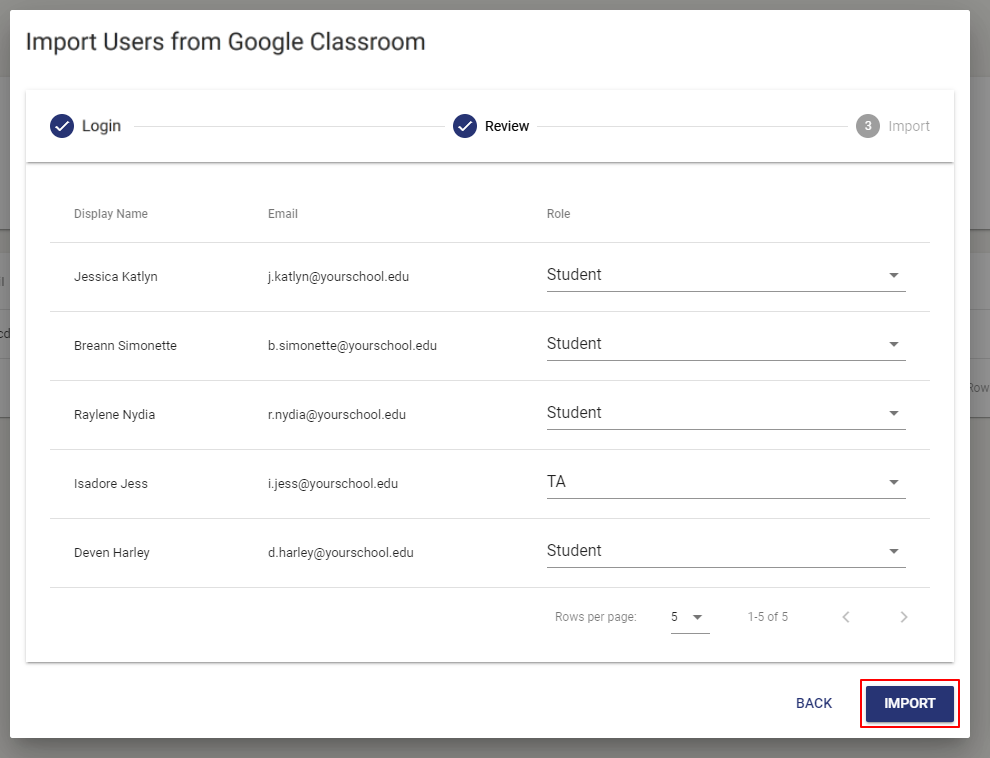
Once you have successfully logged in, you will be able to select which course you would like to import your students from. You will then be able to validate the users who will be invited and their roles. You can use the dropdowns in the Role column to adjust user roles as needed. If you think you have selected the wrong Google Classroom course, you can use the Back button to return to the course selection screen. Once you have confirmed all users are correct, click Import in the bottom right corner of the dialog.
-
If everything worked as expected, each user should receive an email invitation, and you will a confirmation screen describing how many users were successfully invited to your course will appear.
Have a Question? Contact Support
We're here to help you. If you still have questions after reviewing the information above, please feel free to submit a ticket with our Support Team and we'll get back to you as soon as possible.
Thank You for Your Feedback!